How to make a polymer clay ice cream cone
A wafer cone with a scoop of melting pink ice cream.

- Level
- Easy
- Time
- About 15 minutes
- Steps
- 8 steps
What you need
Clay in these colours
- Light brown
- Pink
- Sculpting tools from the kit
- An electric oven and baking paper. An adult does the baking.
Step by step
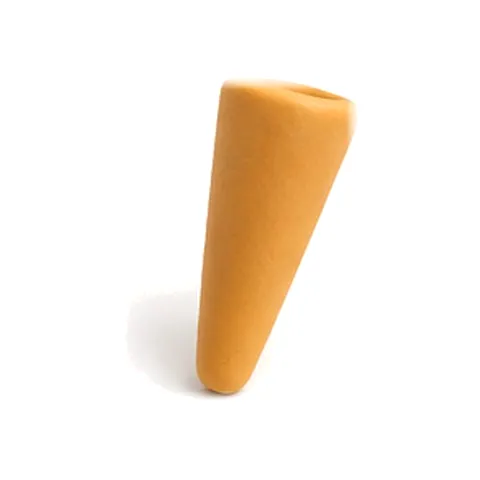
Roll a light brown cone shape for the wafer cone.
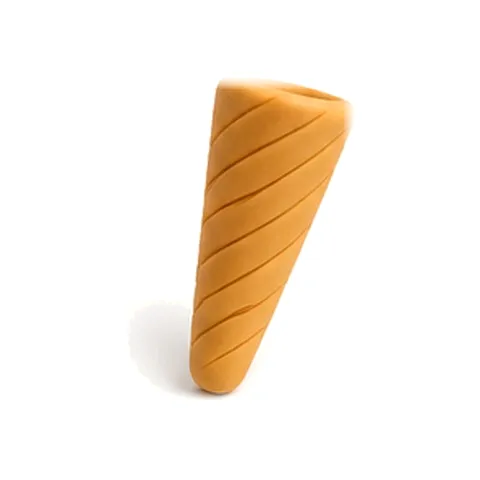
Use the cutting tool to scratch diagonal lines into the cone.
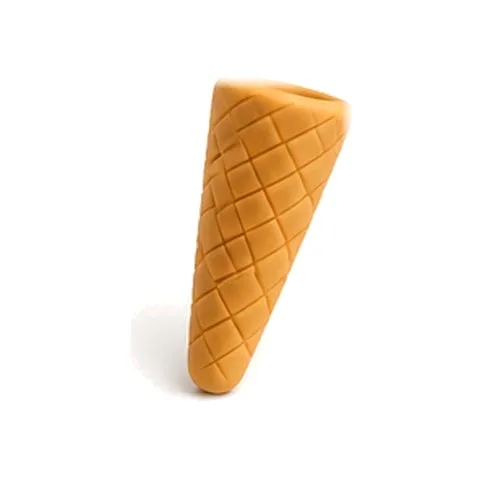
Now scratch lines going the other way. That gives you little diamonds!
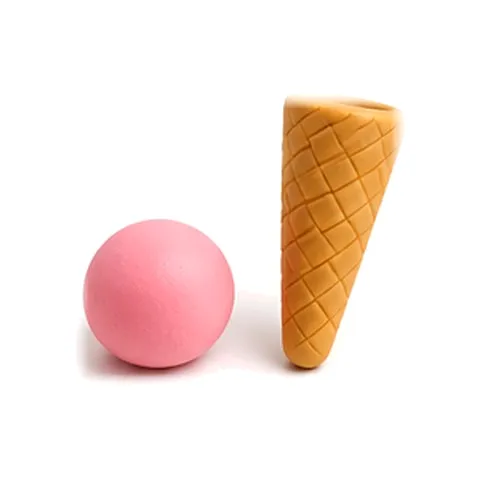
Roll a pink ball for the ice cream.

Press the ball onto the cone, flattening it slightly.
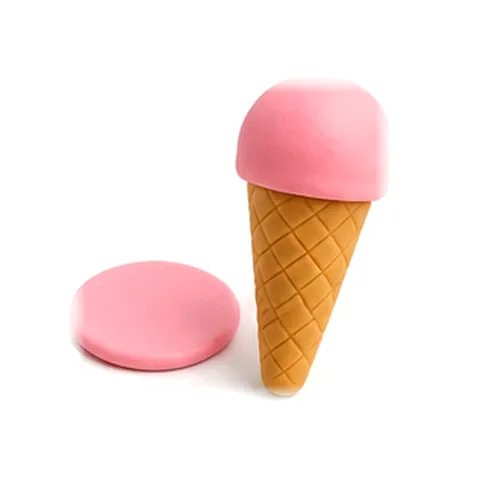
Use the roller to roll out pink clay into a thin sheet.
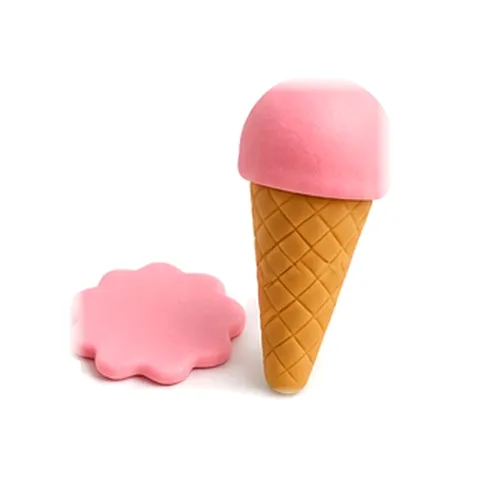
Use the cutting tool to cut a wavy edge on the sheet.

Lay the sheet over the ice cream and press it gently in place. Done!
Tip
Scratch the diamonds with the cutting tool, first slanting to the left and then to the right.
An adult does the baking
- 110–130 °C, never higher
- 10–15 minutes per 6 mm of thickness
- Electric oven only

Polymer Clay Kit – 82 Colours
€54.95incl. VAT
82 colours of oven-bake clay, a work mat, a roller, sculpting tools and keyring parts in a storage box. Recommended from age 8; an adult does the baking.