How to make a polymer clay strawberry
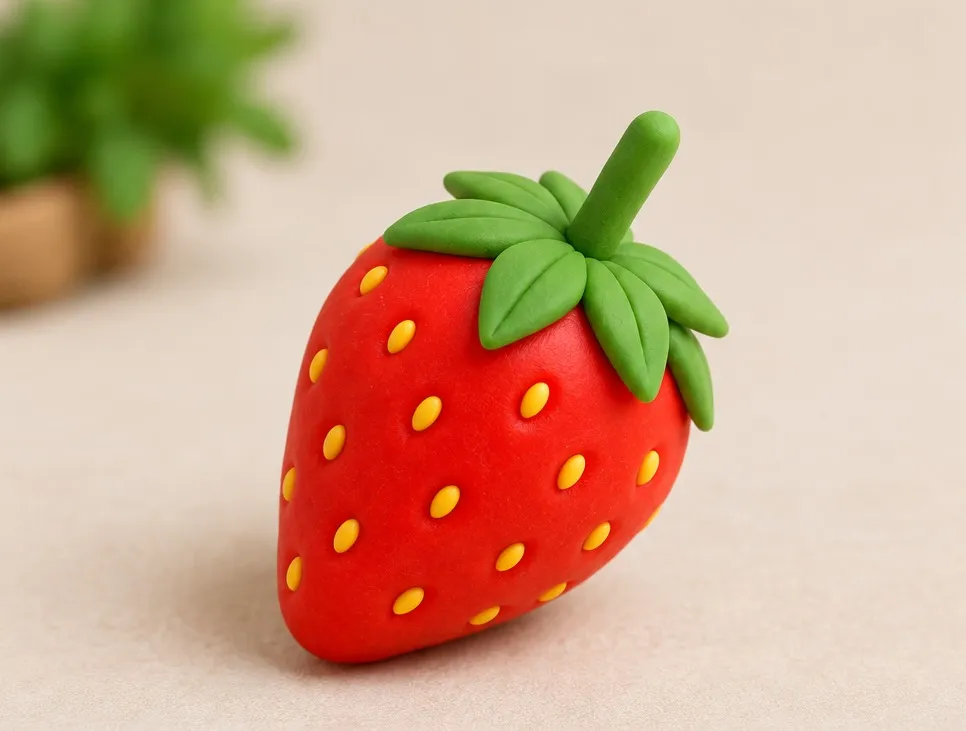
A juicy strawberry with yellow seeds and a little green crown.
 All the colours for this idea in one kitPolymer Clay Kit · €39.95See the kit
- Level
- Easy
- Time
- About 15 minutes
- Steps
- 8 steps
What you need
Clay in these colours
- Red
- Yellow
- Green
All these colours are in the Polymer Clay Kit (82 colours). See the kit
- Sculpting tools from the kit
- An oven, an oven thermometer and baking paper. An adult does the baking.
Step by step
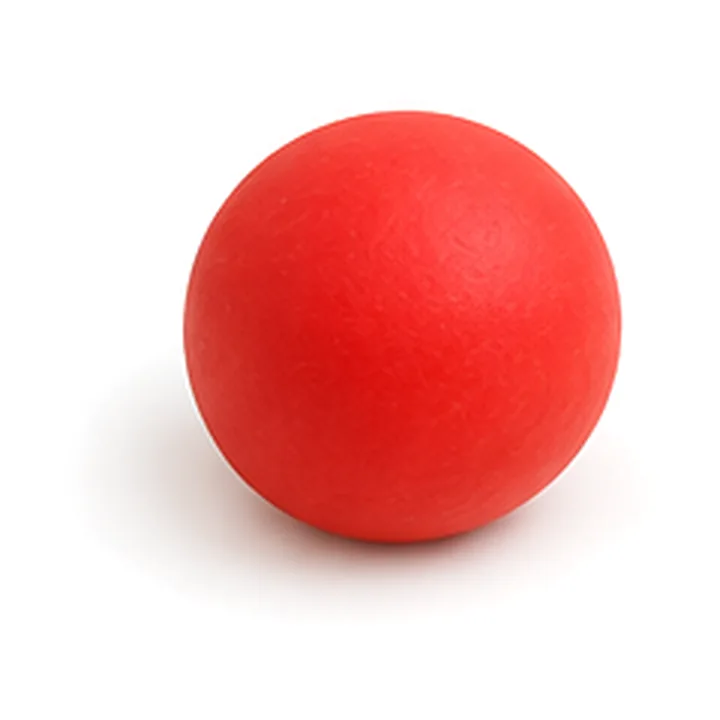
Roll a red ball.
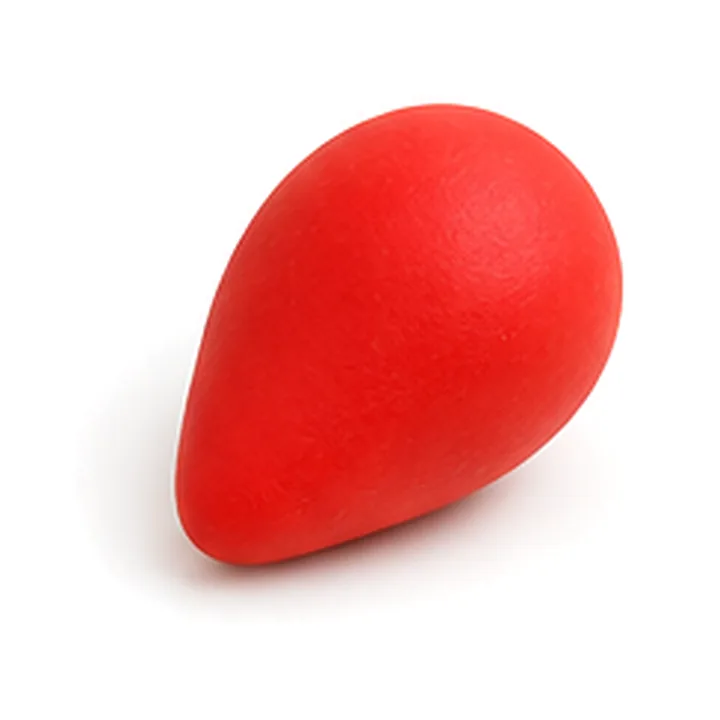
Shape it into a thick teardrop, with the point facing down.
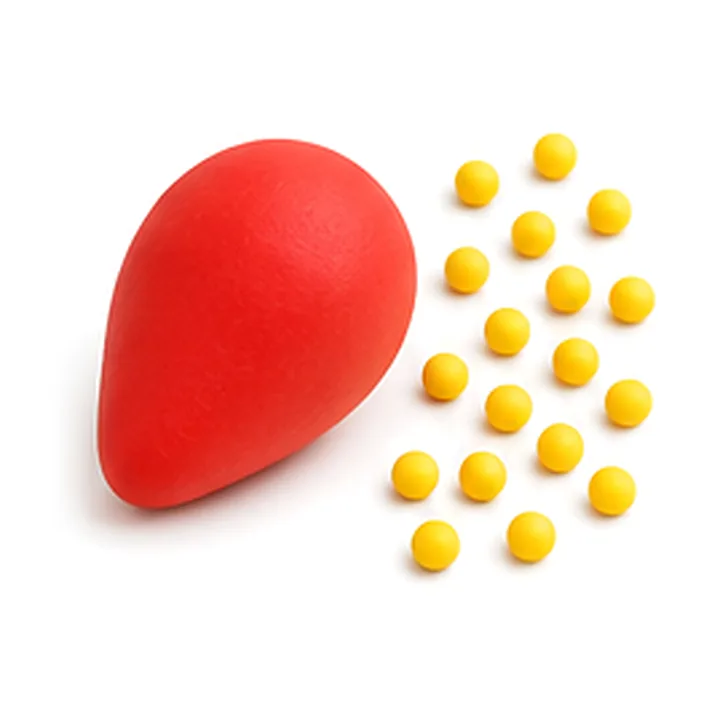
Roll small yellow balls for the seeds.
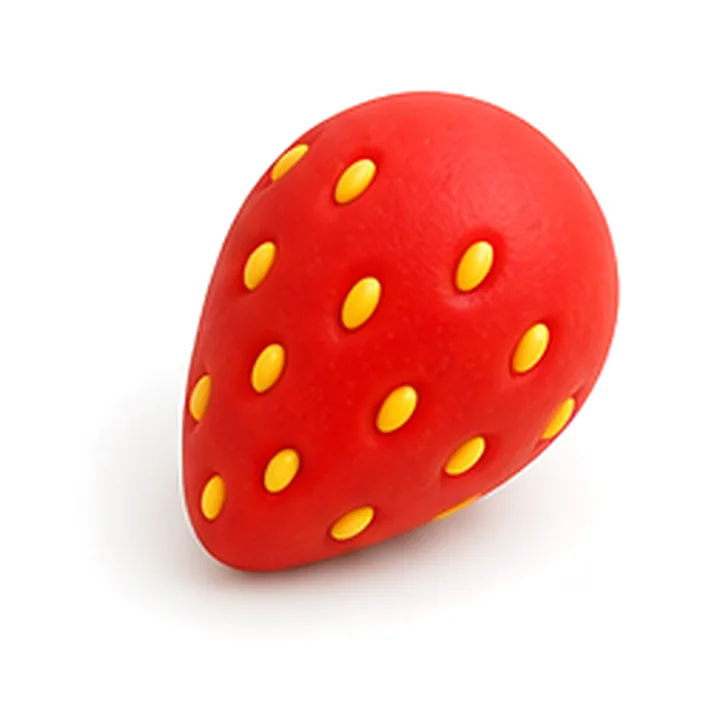
Press the seeds into the strawberry all the way round.
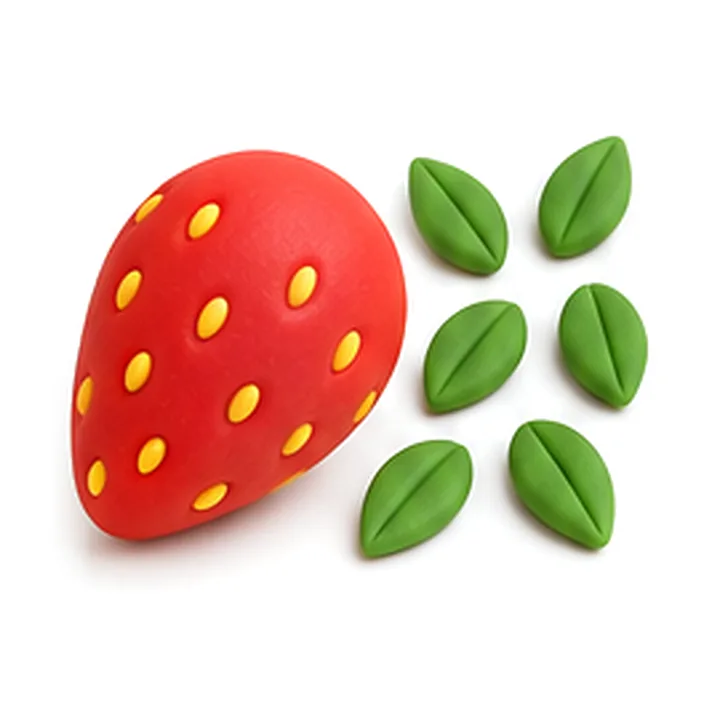
Make six small green teardrops, press them flat into pointed leaves and use the sculpting tool to scratch a line into each one.
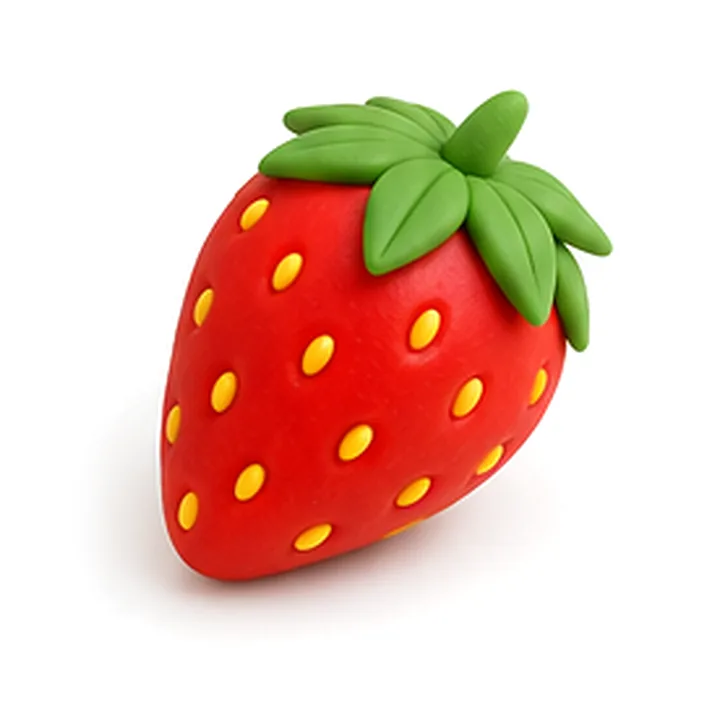
Press the leaves onto the top of the strawberry as a little crown, with a small green point in the middle.
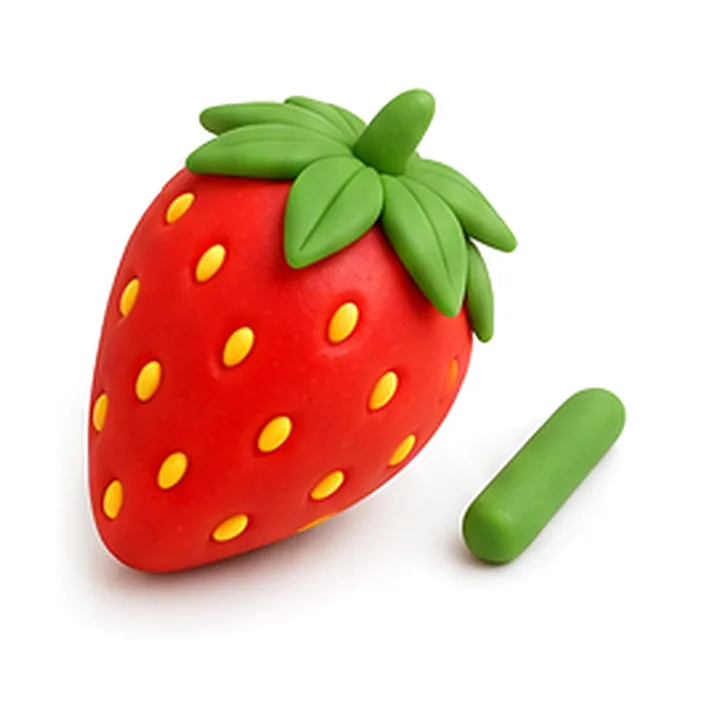
Roll a short, thick green stalk.
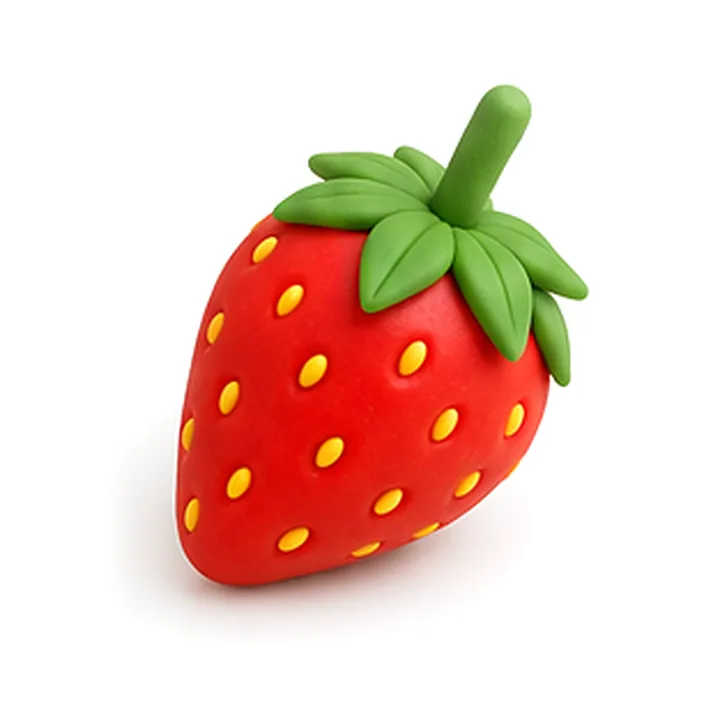
Press the stalk onto the point in the middle. Done!
Tip
Poke little holes with the needle tool first, so the seeds stay in better.
An adult does the baking
- Preheat to 120–125 °C, never above 130 °C
- 15 minutes per 6 mm of thickness, max. 12 mm and 30 minutes
- Oven only: no air fryer or microwave
- Let it cool completely; attach cords and beads only after that

Polymer Clay Kit – 82 Colours
€39.95incl. VAT
82 colours of oven-bake clay, a work mat, a roller, sculpting tools and keyring parts in a storage box. Not suitable for children under 8; an adult does the baking.
Never miss a new clay idea
Sign up for free: new ideas and tutorials first, plus 10% off your first order.
You can unsubscribe at any time. Privacy policy