How to make a polymer clay pony
A sweet standing pony with a dark brown mane and a curly tail.
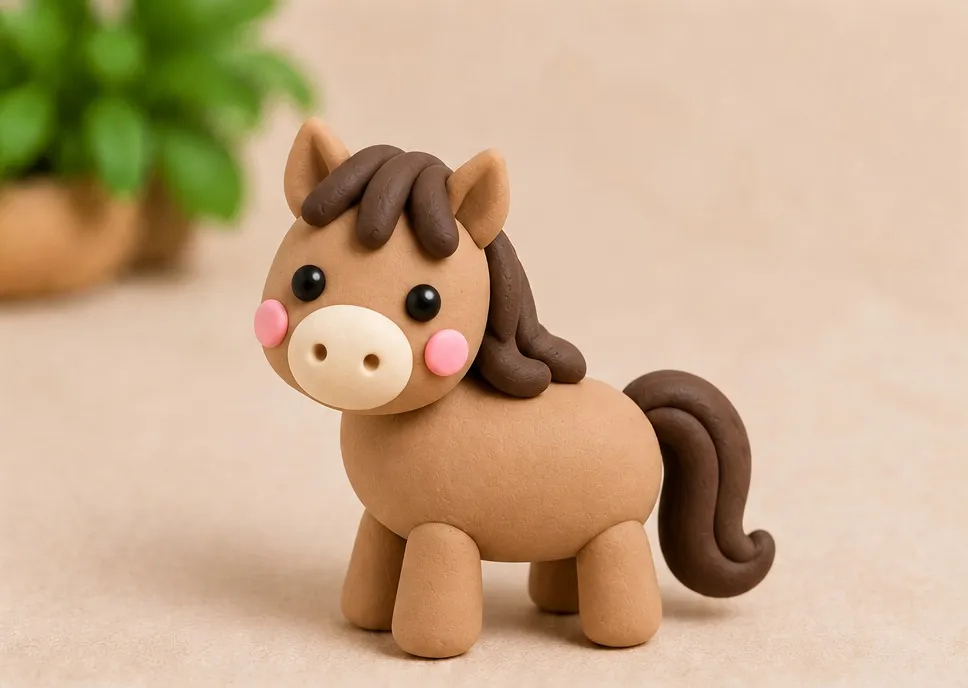
 All the colours for this idea in one kitPolymer Clay Kit · €39.95See the kit
- Level
- Medium
- Time
- About 25 minutes
- Steps
- 8 steps
What you need
Clay in these colours
- Light brown
- Dark brown
- Beige
- Black
- Pink
All these colours are in the Polymer Clay Kit (82 colours). See the kit
- Sculpting tools from the kit
- An electric oven and baking paper. An adult does the baking.
Step by step
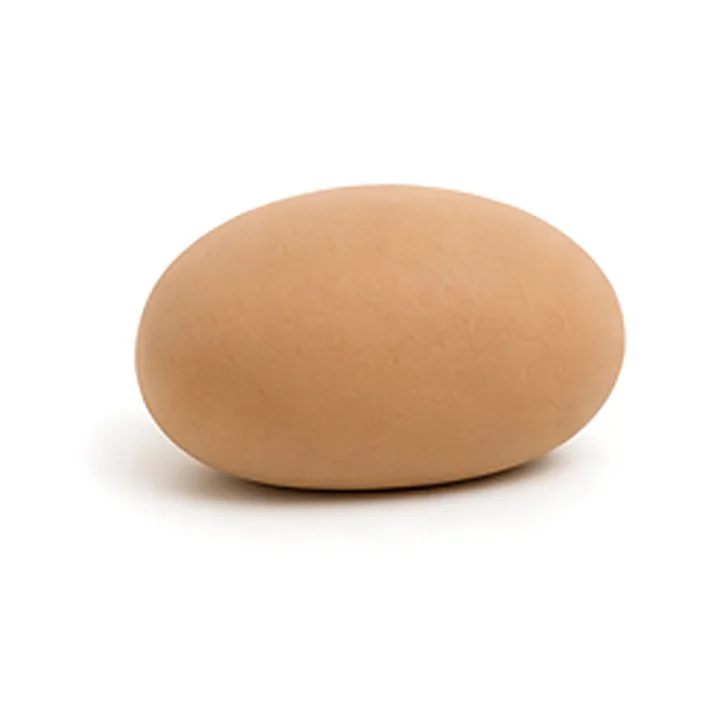
Roll a light brown egg shape for the body and lay it down.
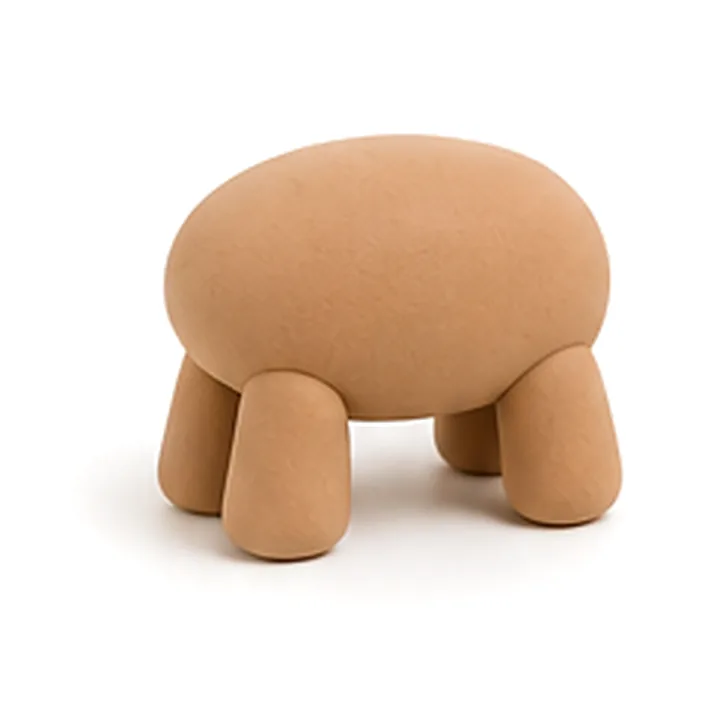
Roll four short, thick rolls and press them under the body as legs.
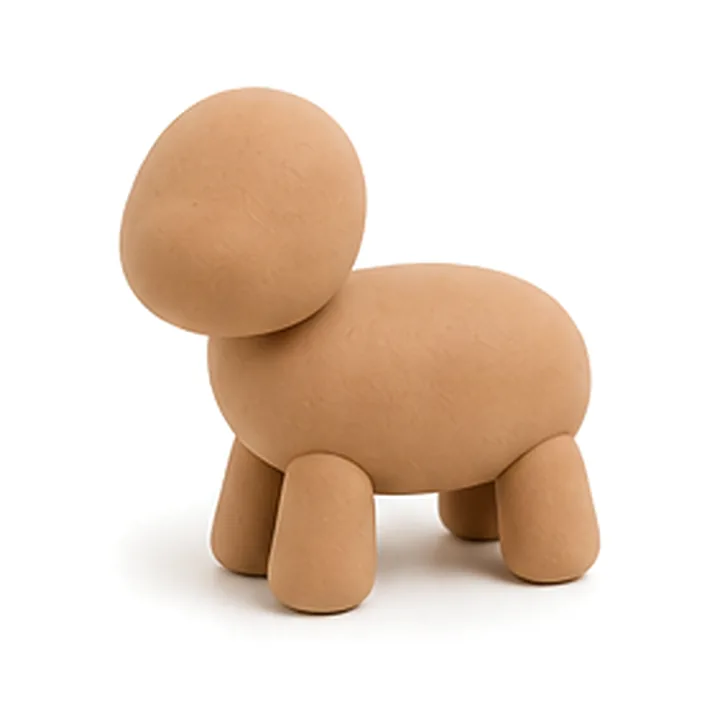
Roll a smaller egg shape and press it onto the front at an upward angle as the head.
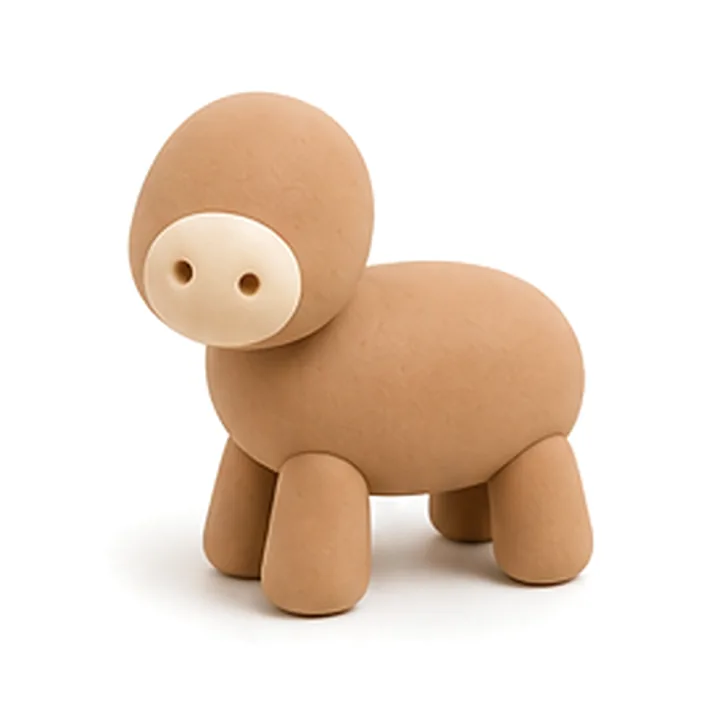
Press a flat beige oval onto the head as the muzzle and poke two nostrils into it.
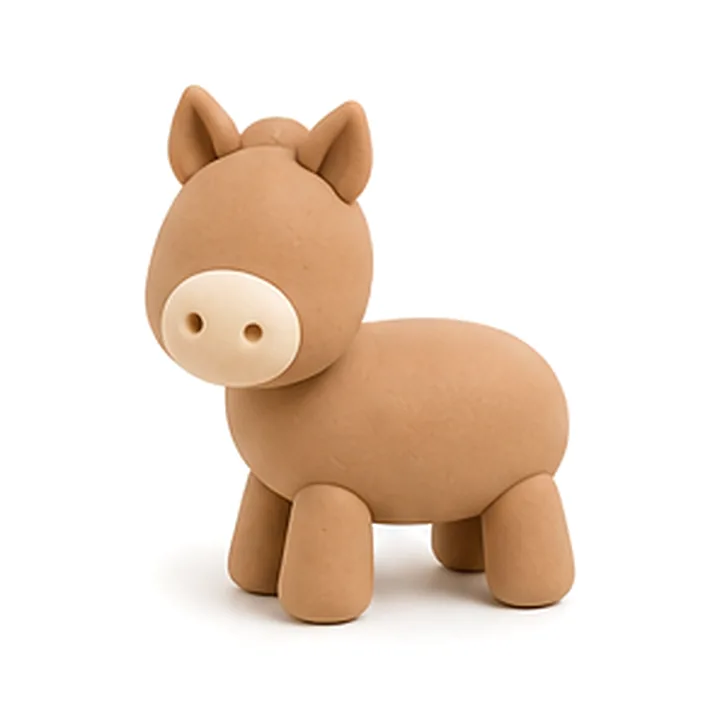
Make two small pointed ears and press them on top of the head.
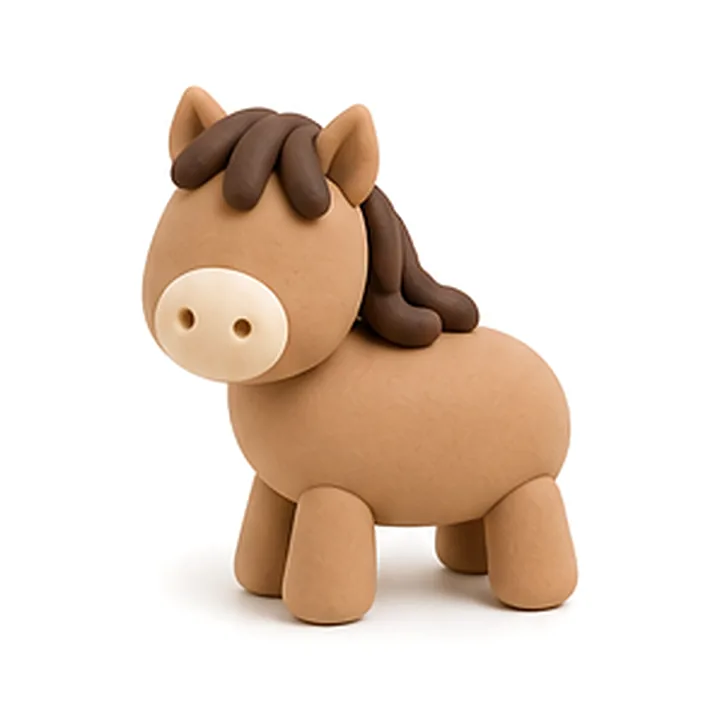
Roll short dark brown strands and press them over the head and neck as the mane.
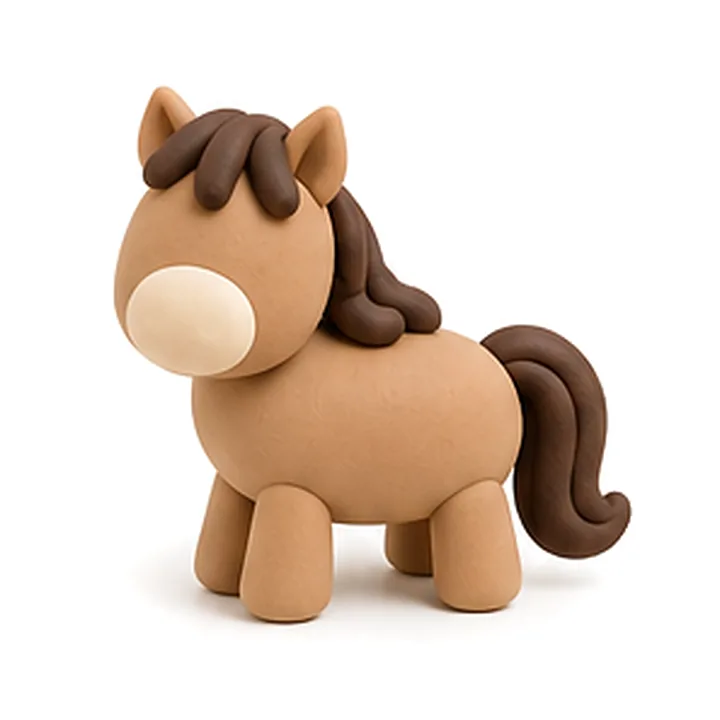
Roll a thick dark brown strand and press it on at the back as the tail.
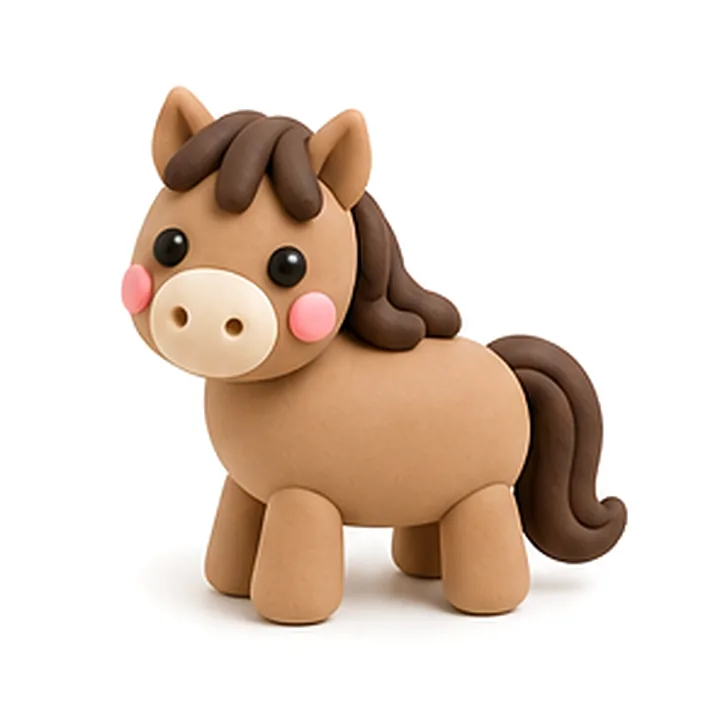
Press black eyes and pink cheeks onto the face. Done!
Tip
Stand the pony up after step 2. If it wobbles, make one leg a little shorter.
An adult does the baking
- 110–130 °C, never higher
- 10–15 minutes per 6 mm of thickness
- Electric oven only
- Let it cool completely; attach cords and beads only after that

Polymer Clay Kit – 82 Colours
€39.95incl. VAT
82 colours of oven-bake clay, a work mat, a roller, sculpting tools and keyring parts in a storage box. Recommended from age 8; an adult does the baking.
Never miss a new clay idea
Sign up for free: new ideas and tutorials first, plus 10% off your first order.
You can unsubscribe at any time. Privacy policy